Compared to the other techniques for 3D scanning, Scannerbox’s recommended method of Photogrammetry has few equipment requirements. Furthermore as most of the equipment relate to photography, they can be used for several photographic purposes depending on the context. And in many cases you will find that you already have most of what you need as you have already been using it for archival and promotional photography of your work!
In short you will need:
- A way to take pictures
- A way to keep the camera steady
- A ‘studio’ setup to take clear images of your subject
These may sound obvious but they are critical to the success of any photogrammetry process.
Over the next sections we will examine each aspect in detail.
The Camera (and lenses)
The process that photogrammetry uses is very scalable. This means that the better your pictures are, the better the resulting 3D model will be. In theory there is no upper limit to the number and quality of images you can use, and the results will similarly increase. In practice you would be limited by the difficulties of handling such large amounts of data. Diminishing returns would come into play where any increase in detail would not be worth the investment in time and expensive equipment.
However the scalability of photogrammetry works both ways. This means that you can use any camera or image capture equipment you have access to. The resulting 3D model will vary accordingly. You could use a webcam, your phone camera, or even – if you really wanted to – an old film camera!
Thus the quick answer to the question of what camera to use is: “Use the camera you probably already have!”. At least to get started with. However should you or your organisation wish to properly get involved with photogrammetry and incorporating it into your workflow and capabilities, a modest investment in a camera will pay off in the long run.
When choosing a camera we would recommend prioritising flexibility and longevity over other factors. A camera with interchangeable lenses, such as a DSLR or Mirrorless camera, is the best option here. They are easily available in tremendous varieties of brands and budgets, and are usually already in the inventory of most cultural heritage organisations. The main benefit here is the ability to changes lenses. This allows you to use the right lens for the right subject, and it also means that you can upgrade the camera and the lenses independently over time.
One tricky aspect is that acquiring such a camera is less about buying a particular product, but more like buying into a product ecosystem, such as Android or Apple. There are several major brands, including but not limited to Canon, Nikon, Pentax, Sony, Olympus and others. Each of these brands has their own selection of compatible lenses and accessories which are very rarely interchangeable. In essence you have to pick one and stick with it, unless you have the means to diversify.
The pros and cons of each brands camera ecosystem are a matter of much discussion amongst photographers and camera afficionados, and well beyond the scope of the Scannerbox guide, but there is some advice we can give. One thing to note is that the two top brands, Canon and Nikon, have the largest market share. This means that they have the largest community and also more diverse options for lenses – which are arguably more important than the camera body. If you are likely to be needing specialised equipemnt, such as adapters for microscopes for example, you would be better served with a popular brand that you will probably find better support for. Another thing to consider carefully is what you arelady have access to. As mentioned it is very likely that you will already have one or more cameras available. If so then it is often best to stick with that ecosystem and invest in more and better lenses, and perhaps a new camera body down the line. Lenses are often just as expensive as the cameras.
Having said that, if you are procuring a new camera then we would recommend investing in one that is well regarded for its image quality over any other feature. Cameras are now marketed and designed with video production in mind and this is not a priority for photogrammetry. Instead we would choose a camera body with a ‘Full Frame’ Sensor – which means that the digital sensor is the same physical size and aspect ratio as that of 35mm film – and that is well regarded for its focusing and low light capability. Over anything else the most important factor for 3D scanning is the ‘sharpness’ of the source images. While this is a product of a high megapixel camera sensor, it is more dependent on the quality of the lenses, which brings us to the next point.
Ideally you will have a selection of lenses for any eventuality, but to get started we would recommend three lenses: a 50mm ‘prime’, a 28mm wide-angle, and a 90mm or 100mm macro. These 3 lenses will cover most of the use cases you are likely to encounter. There are certainly other lenses which can be useful, such as a longer macro lens for micro-photography, or a fish-eye lens for environmental or room capture. Common lenses for photography, such as a 200mm telephoto lens are less useful for photogrammetry.
Lenses come in just as much variety as the camera bodies. Beyond the type and focal length of the lens there are several other factors to consider such as the aperture and whether they have any stabilisation features.
The aperture of a lens – the f Stop – is normally its most important specification, and also a measure of its quality. But for the purposes of photogrammetry, where your subjects will be still, and you will, ideally, have all the time you need for each picture, the ability to have a wide aperture is not critical. in fact it can be detrimental. As described in the photography guidelines, the wider the aperture is, the narrower becomes the depth of focus of the lens, meaning you will struggle to have the entirety of the object in focus – which is critical. Wide open apertures also soften the image, further impacting any 3D scanning work.
Stabilisation is also not a requirement. You should always aim to use a tripod to stabilise your camera when scanning a subject, and having a stabilisation mechanism can actually produce blurry images when a tripod is used as the mechanism tried to compensate for movement that is not there. This is why there is a tripod mode which disables stabilisation on most professional cameras.
Finally, unless there are budgetary limitations, you should avoid investing in or using a ‘zoom’ lens if you can. While lenses that cover a range of focal lengths, such as 70-200mm or 28-135mm may sound practical and flexible, the truth is that they almost always have worse clarity and sharpness compared to fixed (or ‘prime’) lenses. The flexibility of such zoom is a trade-off and since you are already using an interchangeable lens system, you can simply switch to a better suited lens.
In summary, when investing in a camera system for photogrammetry you should consider the following:
- An interchangeable camera system like a DSLR or Mirrorless is much better than any fixed lens camera.
- The capabilities of the camera body are less important than the quality of the lenses.
- The chosen camera body should prioritise image quality over other features.
- The chosen lenses should also be well regarded for their sharpness and image quality over other specifications such as aperture or stabilisation.
- It is better to get several ‘prime’ lenses over one flexible zoom lens
For reference, our preferred camera system, and the one with which we have done all our work so far, is a Pentax K-1 full-frame DSLR with a 100mm Pentax macro lens.
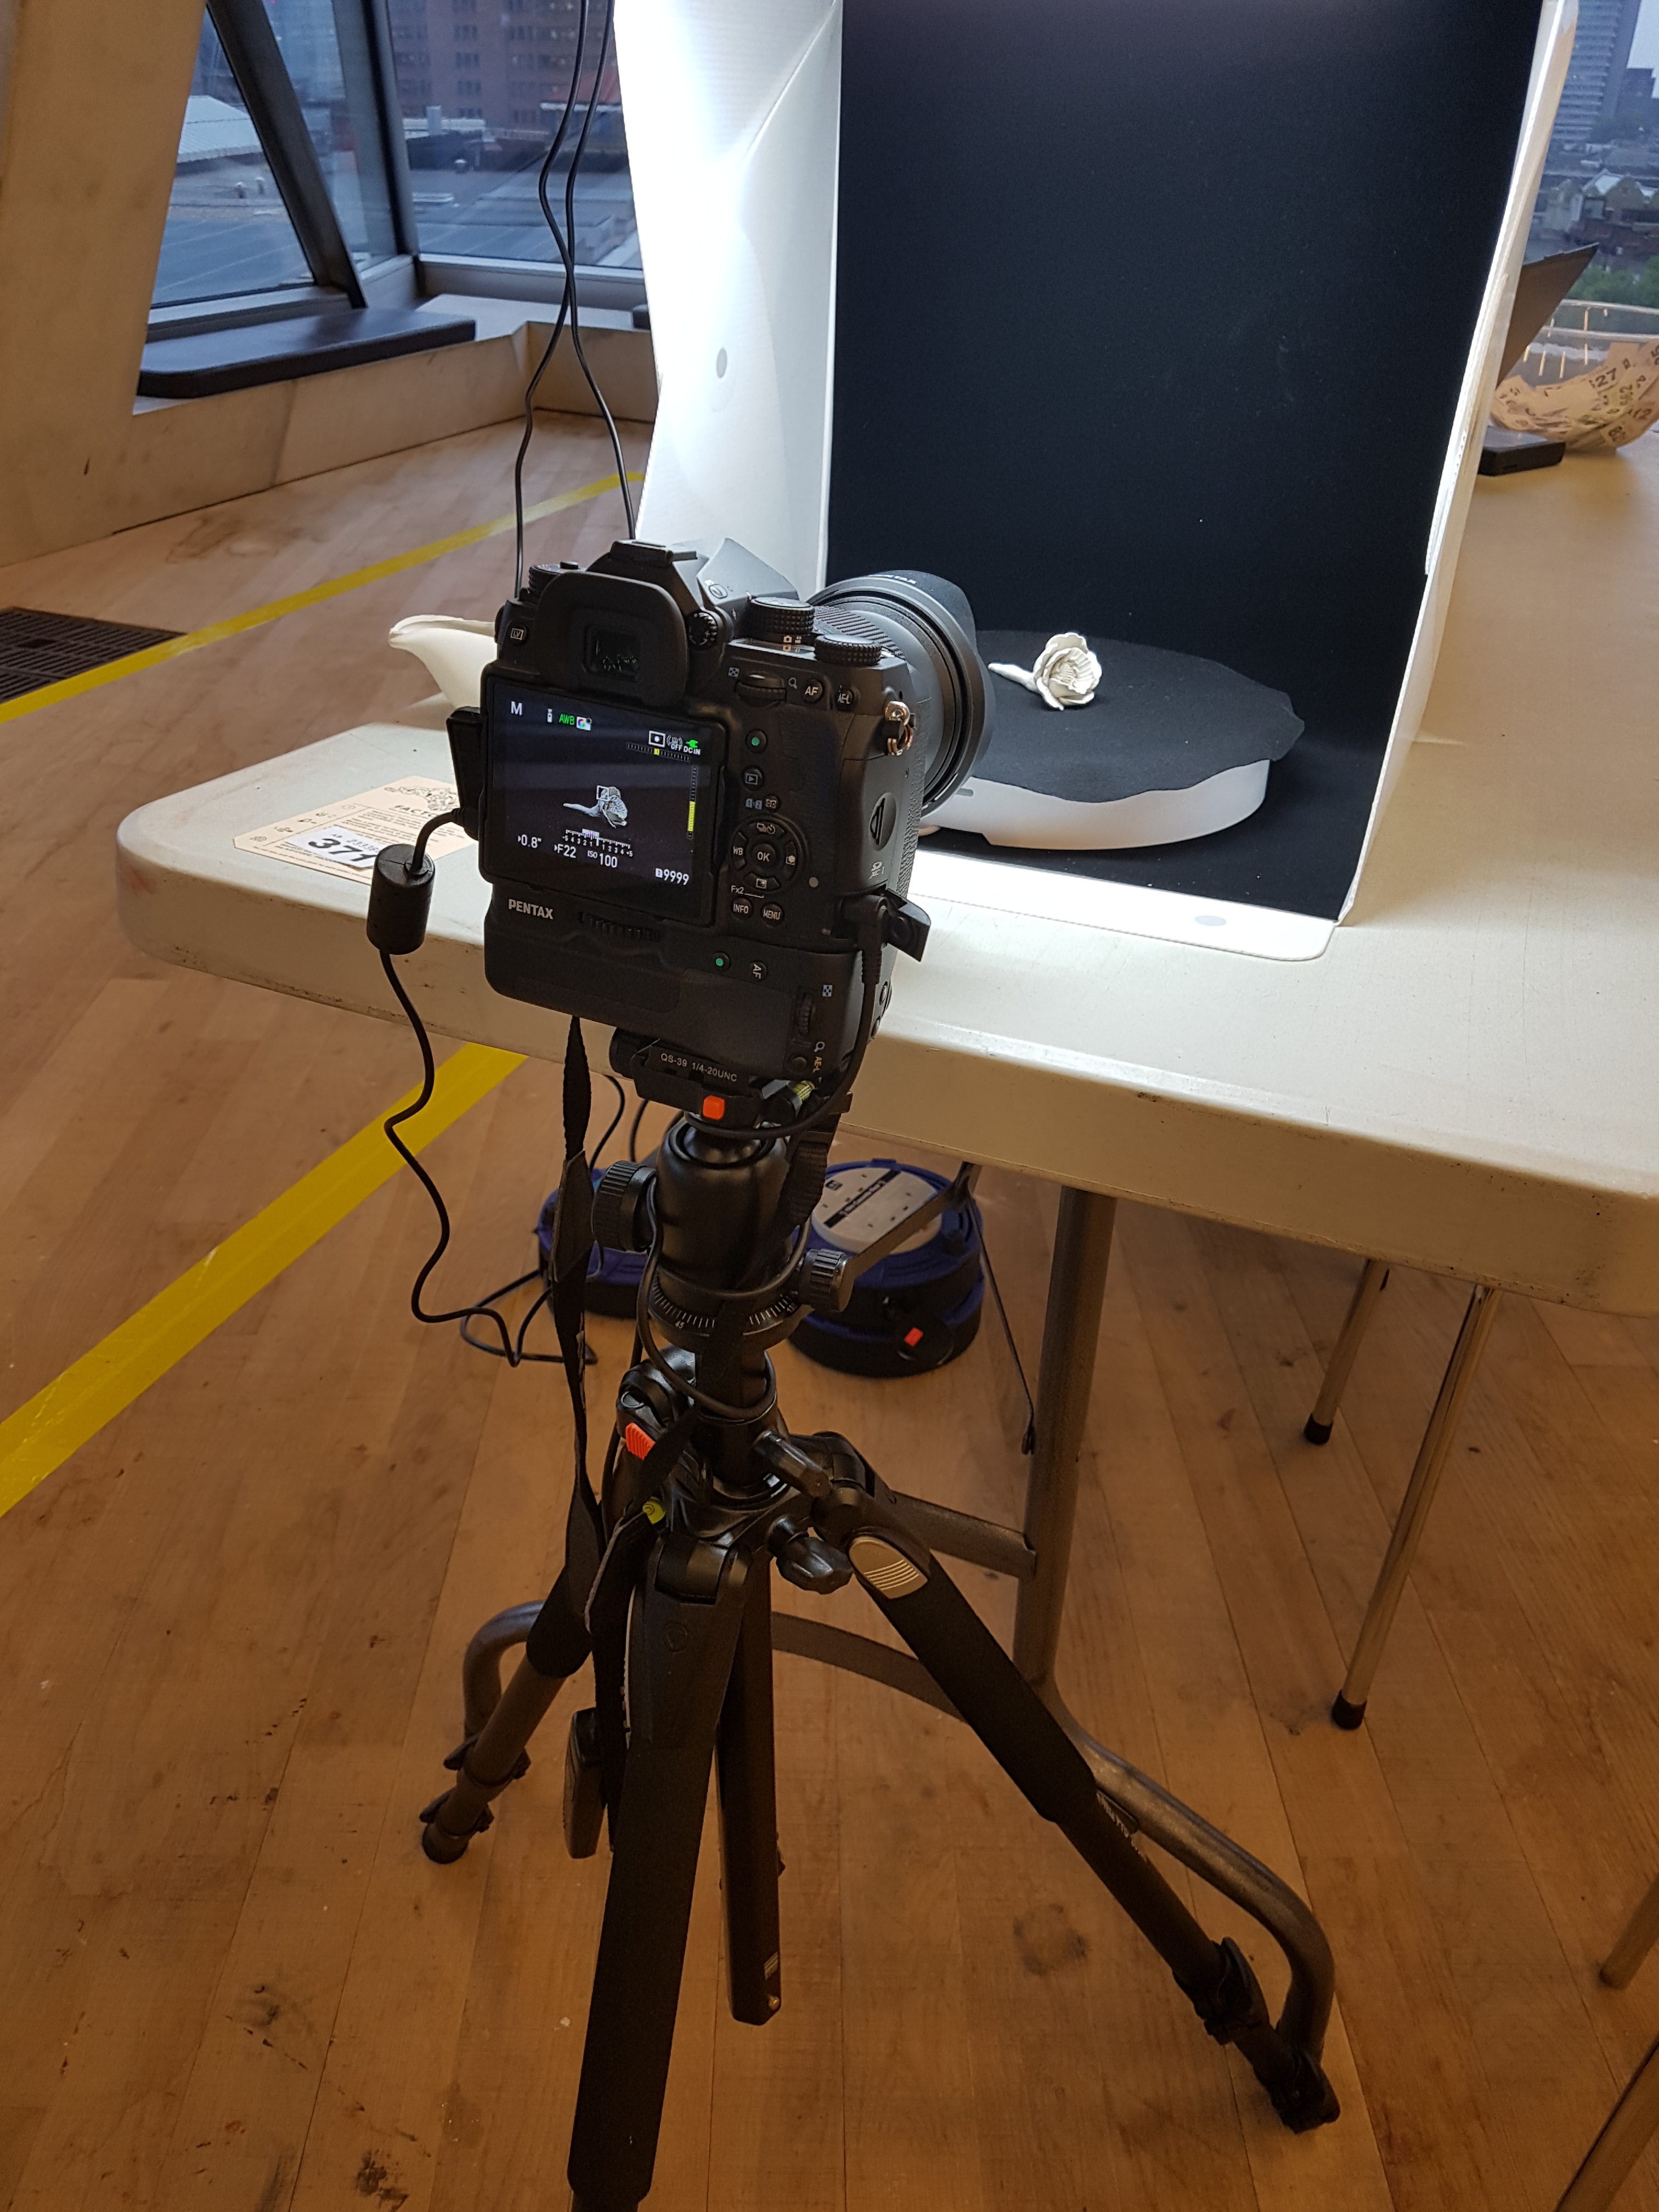
Stabilising the camera
Compared to the previous section the discussion here will be a lot shorted but no less important. As repeatedly mentioned, the sharpness of the images are critical to the success of photogrammetry. Any movement is problematic, whether from the camera or the subject. And since most of the scanning subjects will be inanimate the former should not be a problem. Hence we shall focus on how to keep your camera stable during scanning.
The most obvious way to do so is also the correct way – always use a tripod. A good tripod.
After a camera bag, the most commonly bought accessory for a camera is tripod. The market for tripods is as large as it is diverse. There are studio tripods, field tripods, portable tripods, video tripods, flexible tripods, monopods, and more. But choosing the right one for the purposes of photogrammetry is not as tricky as it sounds.
There are really only four things to consider. The weight of your equipment, the weight of the tripod, the potential dimensions of your subjects and the tripod head.
The main job of a tripod is to keep your camera steady and secure. Many tripods on the market are sold with the expectation that they will be used with consumer cameras which weigh less than a kilo and will only be used for short periods of time. However camera setups can quickly get very heavy – especially with good lenses – and this introduces instability and at worst could prove to be the end of your camera if the tripod cannot take its weight. All of the better tripods on the market specify the ‘Load Weight’ which they are capable of holding. We would recommend that whichever tripod you use is rated for almost double the weight of your camera system.
The next consideration is quite straightforward. Tripods are large, heavy and ungainly pieces of equipment, especially the good ones. If your scanning work involves you having to transport or carry your camera equipment then its weight is a factor. However it must also be heavy enough to remain stable when your camera is mounted on it. Many of the more expensive tripods are made of carbon fibre, which makes them exceptionally light, but also unsuitable for mounting heavy cameras, as all the weight is at the top. This can often be remedied by hanging a weight, like a heavy camera bag from the centre of the tripod. Many of them have hooks for this exact purpose – just be careful not to move the bag during scanning. Thus if you are primarily going to be scanning in the same location, such as a specific museum, then it makes sense to invest in a heavy duty robust tripod. If your work will be done in the field, a more transportable tripod may be the better option. Again as with most things, there is a trade off.
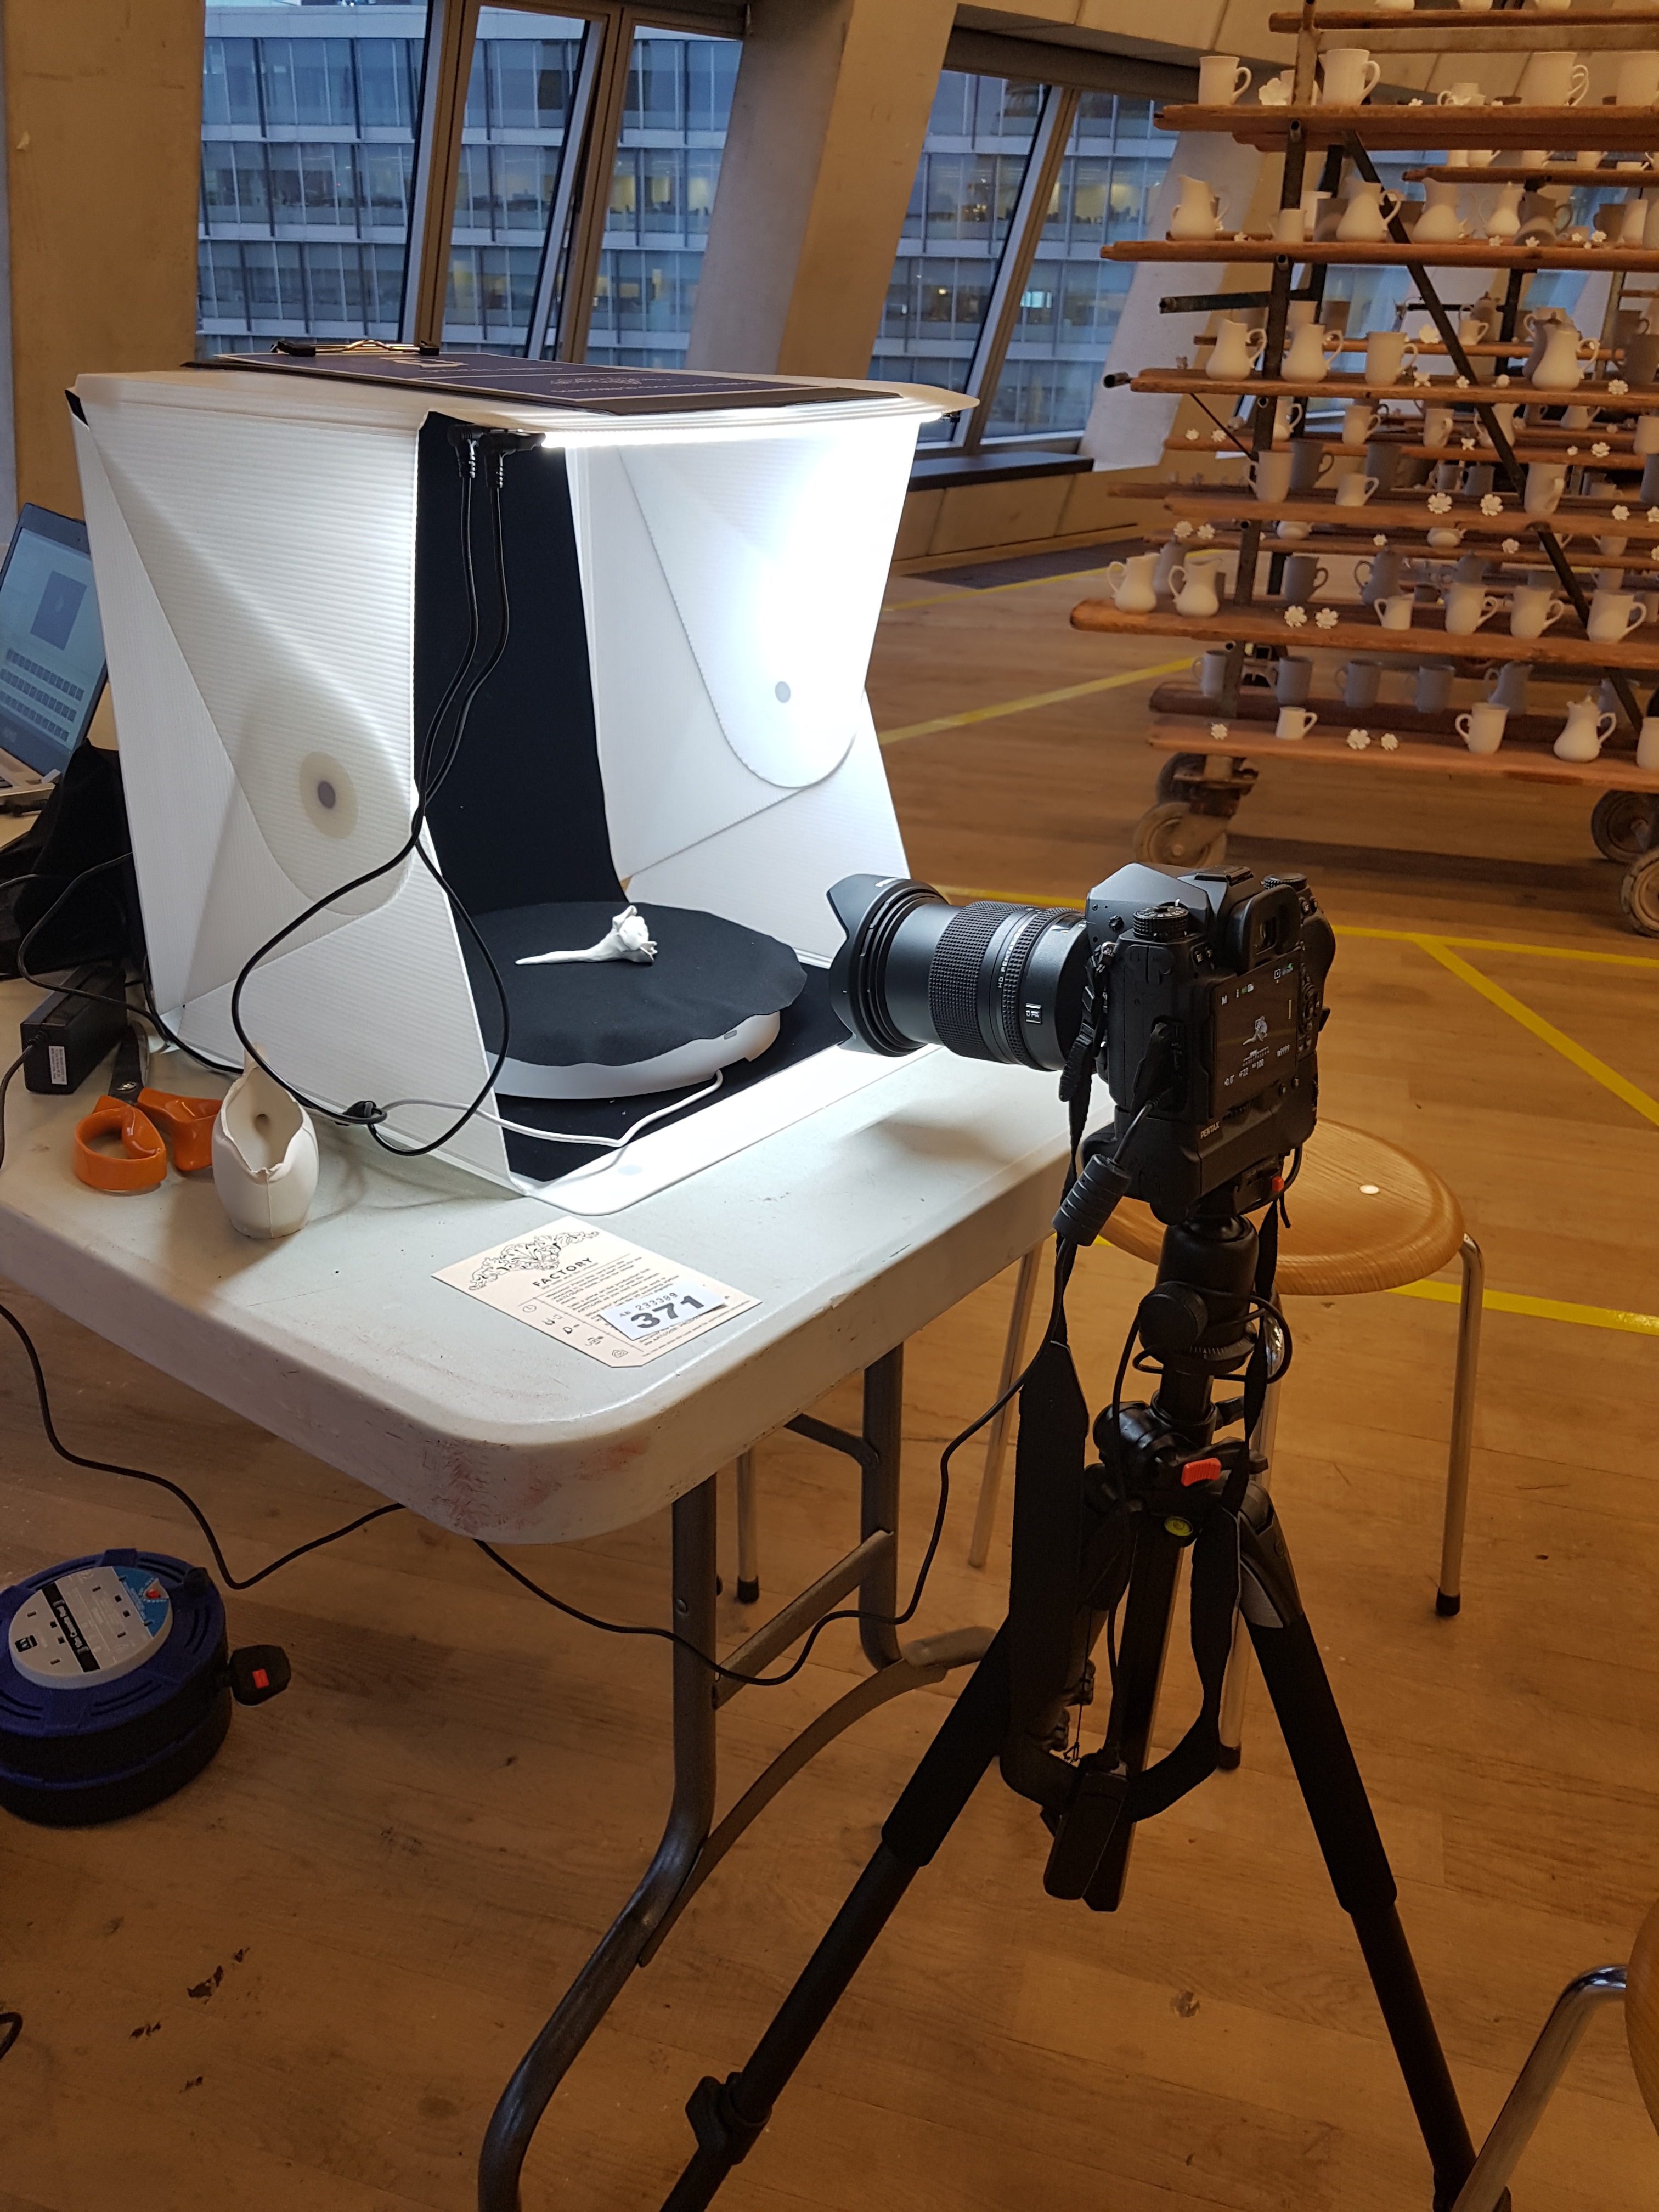
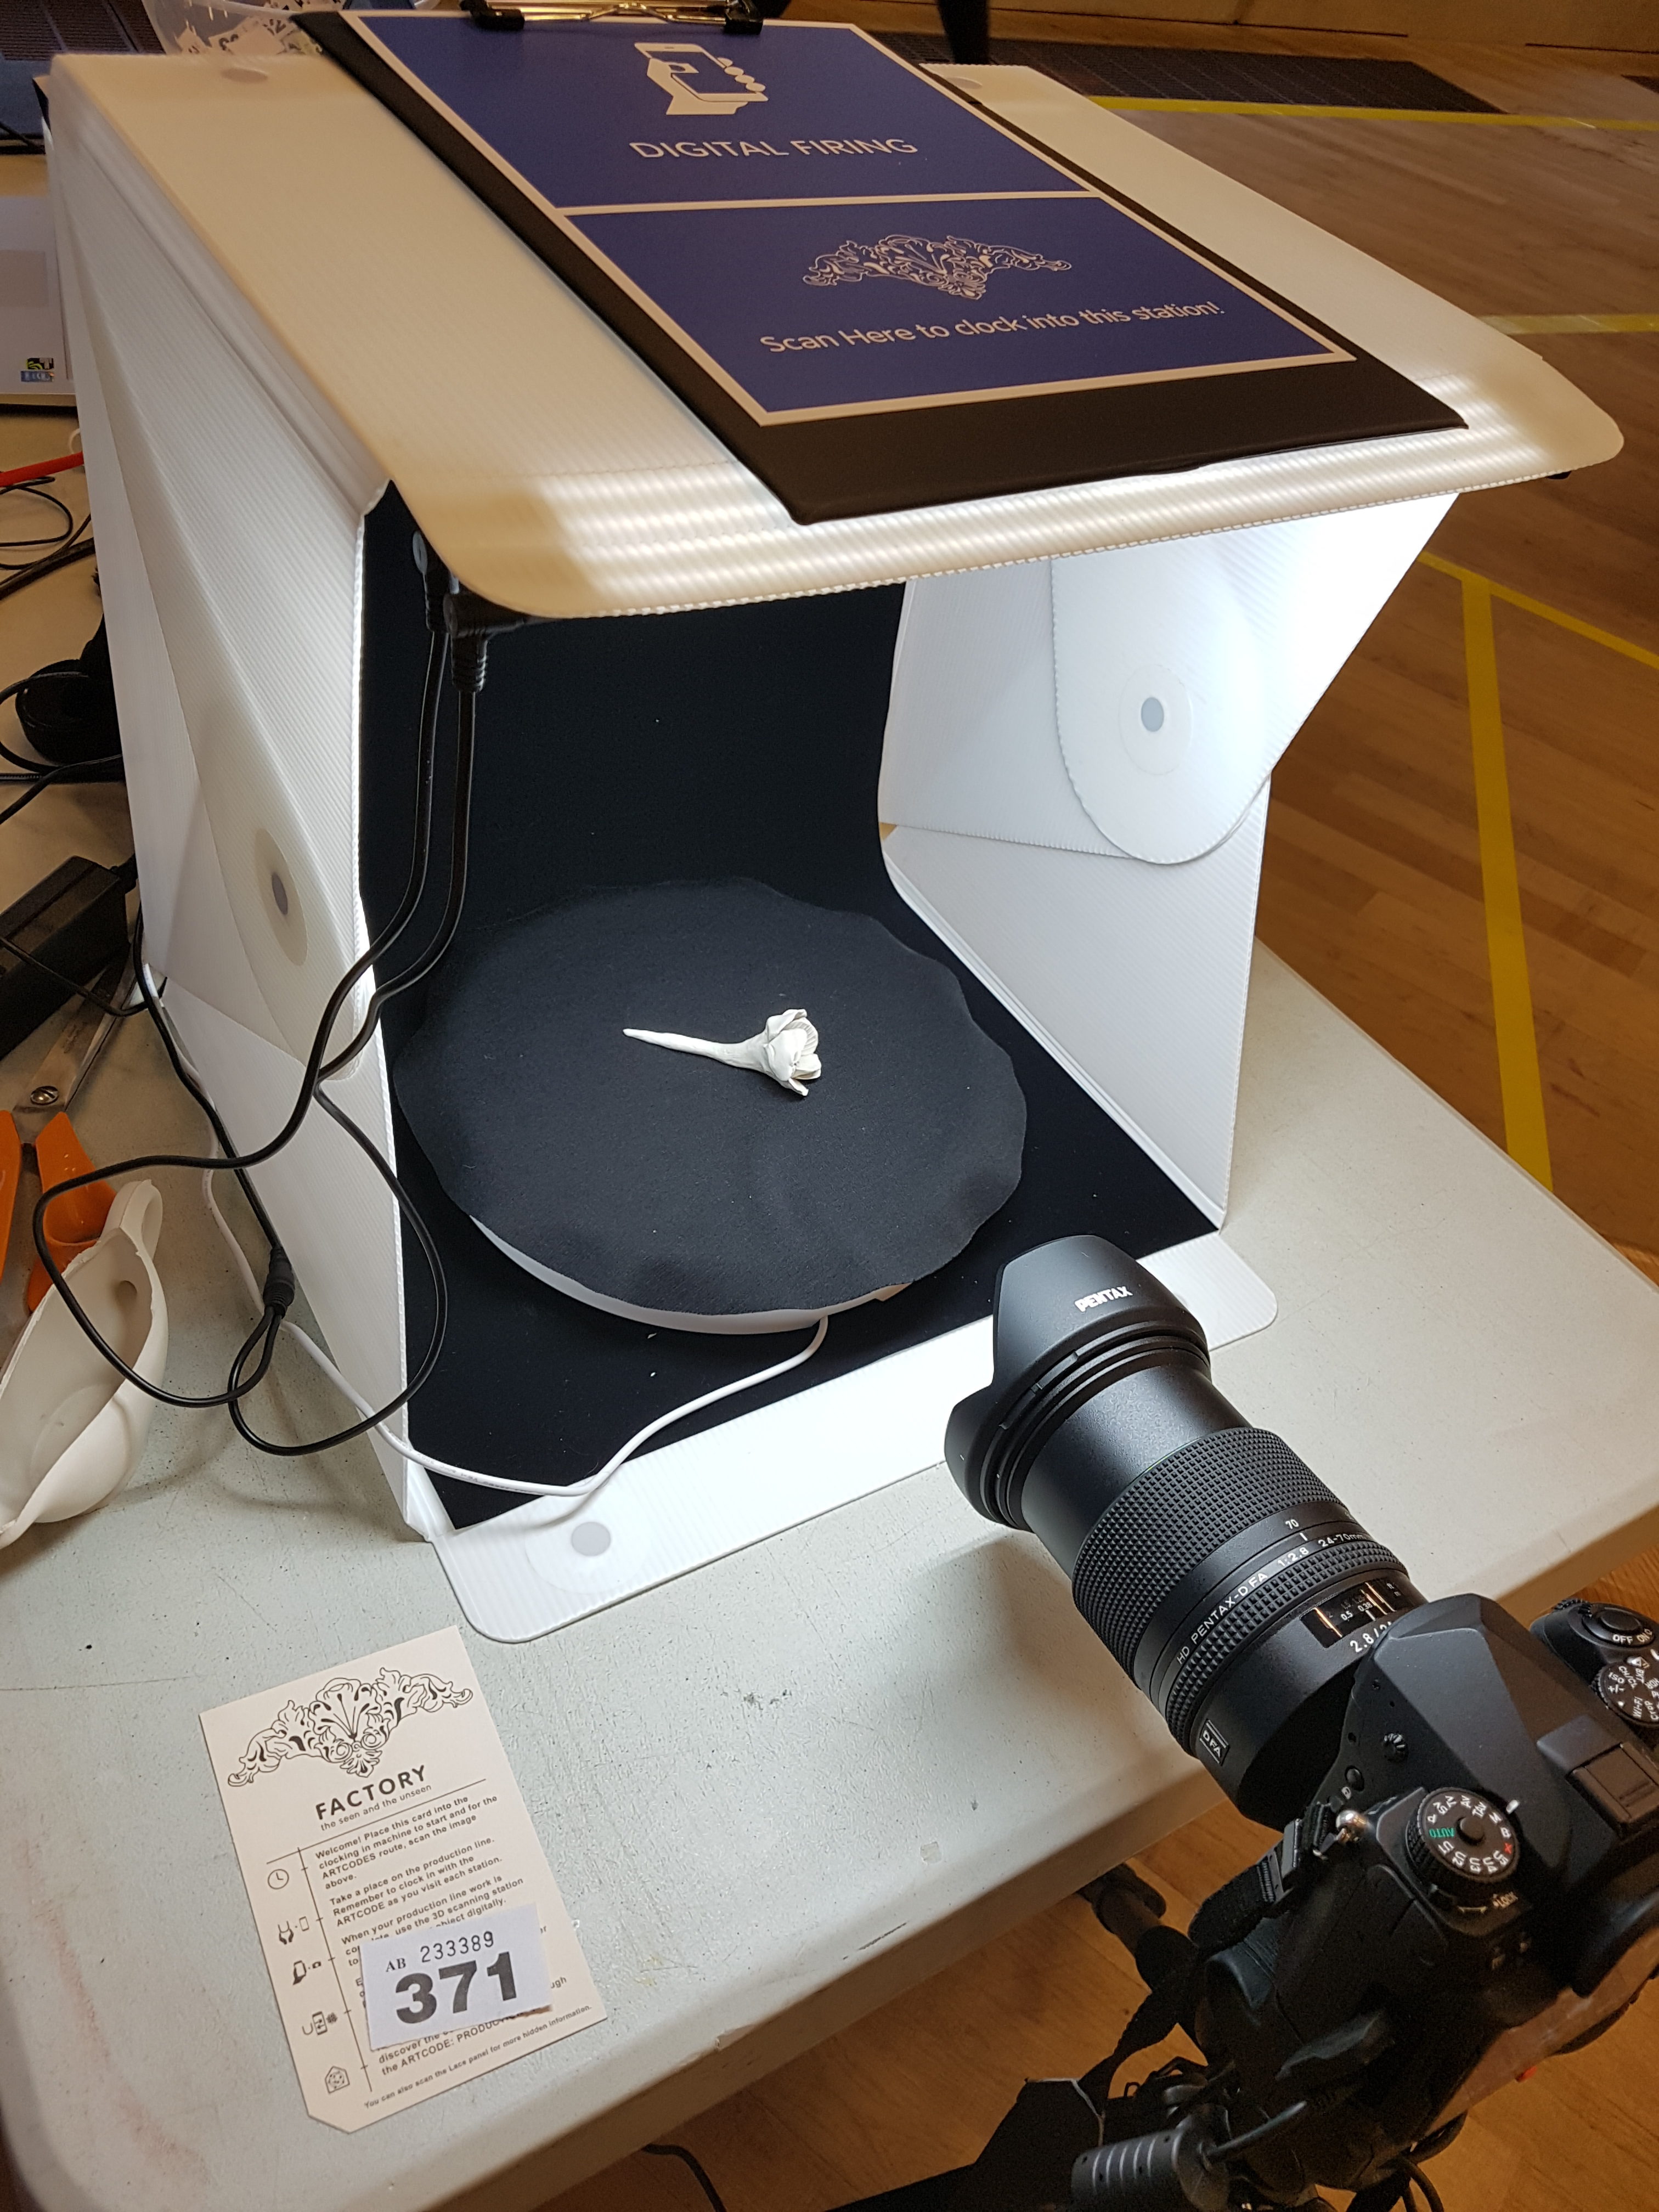
The ‘Studio’ Setup
Beyond the camera system, the most important aspect of the scanning hardware is your ‘studio setup’. By this we mean the setup you will have for taking the pictures of the object you wish to scan. This can be as simple as a table for you to place the object on while you photograph it, or as elaborate as a dedicated studio room with lighting and a motorised turntable.In either case however, there are a few things you will want to keep in mind when considering your setup, and there are plenty of simple tricks and hacks to pick up along the way.
The first thing to consider is lighting. Getting the lighting right is critical to getting the right images for the 3D modes you want to produce, and there is an entire discipline of knowledge and skills that you can delve into on this subject. It is also important to note that depending on the the outcome you want, the lightning will need to be handled accordingly. This subject is examined in a bit more detail in the photography guidelines.
With regards to the equipment setup however, a good starting point would be to focus on three things. The amount of light, its direction, and its temperature. The amount is relatively straightforward: usually the more the better. You ideally want the entire object to be lit, but with no part of it being too bright, or ‘blown out’. This speaks to its direction as well. If you can help it you don’t want any shadows to be cast by the objects, or on to it. Thus you need to avoid direct lighting and diffuse any of your light sources. This means that you ideally want to ‘bounce’ your light toward your subject and diffuse it. To this end a good investment would be to build or procure a Lightbox.
A Lightbox is essentially a semi-translucent box – usually with a white interior, but you can vary this based on your subject – which serves the purpose of diffusing any light source and bouncing the light inside it, thus softly and evenly lighting your subject. You can make a Lightbox your own lightbox – there are innumerable craft guides available online. There are just as many commercially available lightboxes, many with integrated lighting, which can also be folded for storage.
Finally another item that we have found indispensable for quick and relatively painless 3D scanning is a turntable. As you cannot move the object until the photography is complete, and it is often impractical to move your entire camera and tripod system, it is a good idea to place the scanned object on a movable or rotatable surface, such as a table with wheels, or better yet a solid and stable turntable. You can find affordable turntables in kitchenware departments, where they are sold as rotating serving dish, also known as a ‘Lazy Susan’. You can also find them at hobby supply shops sold as accessories for painting and airbrushing tables. Finally you can also get heavy duty professional, or even motorised turntables that synchronise with your camera from photography stores.
For reference, we have used a commercially available Lightbox and Turntable called Foldio.